This page describes how to setup the IC-7300 for USB port access into wfview.
For the IC-7300 MKII, it is recommended to use the Ethernet (Network) setup detailed elsewhere in the manual.
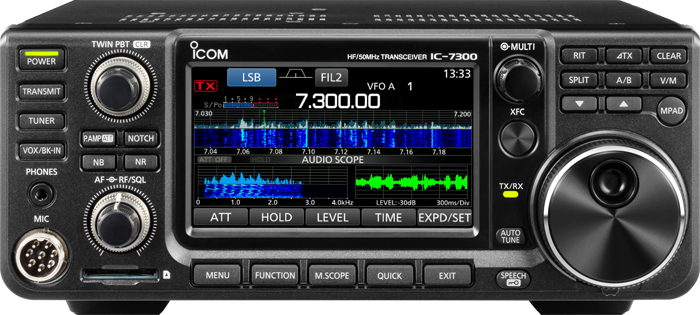
Radio
We have a pictorial guide available here if you prefer to follow along visually.
- Menu -> Set -> Connectors -> CI-V
- CI-V Baud Rate: “Auto”
- CI-V Address: “94h”
- CI-V Transceive: “ON”
- CI-V USB REMOTE transceive Address: “00h”
- (scroll down)
- CI-V USB Port: “Unlink from [REMOTE]”
- CI-V USB Baud Rate: “115200”
- CI-V USB Echo Back: “OFF”
- Menu -> Set -> Function:
- USB Serial Function: “CI-V”
- USB SEND/KEYING:
- USB SEND: “OFF”
- USB Keying (CW): “OFF”
- USB Keying (RTTY): “OFF”
- Inhibit Timer at USB Connection: “ON” (may be turned off if desired, but it is a good safety measure to time-out your radio if it is stuck keyed)
- Time-Out Timer (CI-V): OFF
- Menu -> Scope
- Note: You MUST have the scope open on the radio in order to get the data out to the computer.
Computer
Microsoft Windows users must install the driver from Icom’s website. macOS and Linux users do not need to.
Linux users may need to own the serial port that the radio’s USB connection creates. This can be accomplished with a udev rule to automatically own all serial devices. A quick shortcut for now is to type the following into a terminal (please copy and paste so that the back ticks are properly inserted):
sudo chown `whoami` /dev/ttyUSB*
wfview
Start wfview. It is quite possible that wfview detects your radio automatically. If not, you will need to set it as is shown below (make changes to the port name if needed):
- Radio Connection: Icom, Serial(USB)
- CI-V and Model:
- Manual Radio CI-V Address: DO NOT CHECK THIS BOX
- Use CI-V address as model ID: DO NOT CHECK THIS BOX
- Serial Device: Select the serial device (COM port, /dev/ttyUSBx, etc)
- Baud Rate: 115200
- PTT Type: CI-V

Press “Connect to Radio”
IMPORTANT: If successful, press “Save Settings”, otherwise, you will have to start over next time you open wfview.